
How to Measure a Room for Furniture (2026)
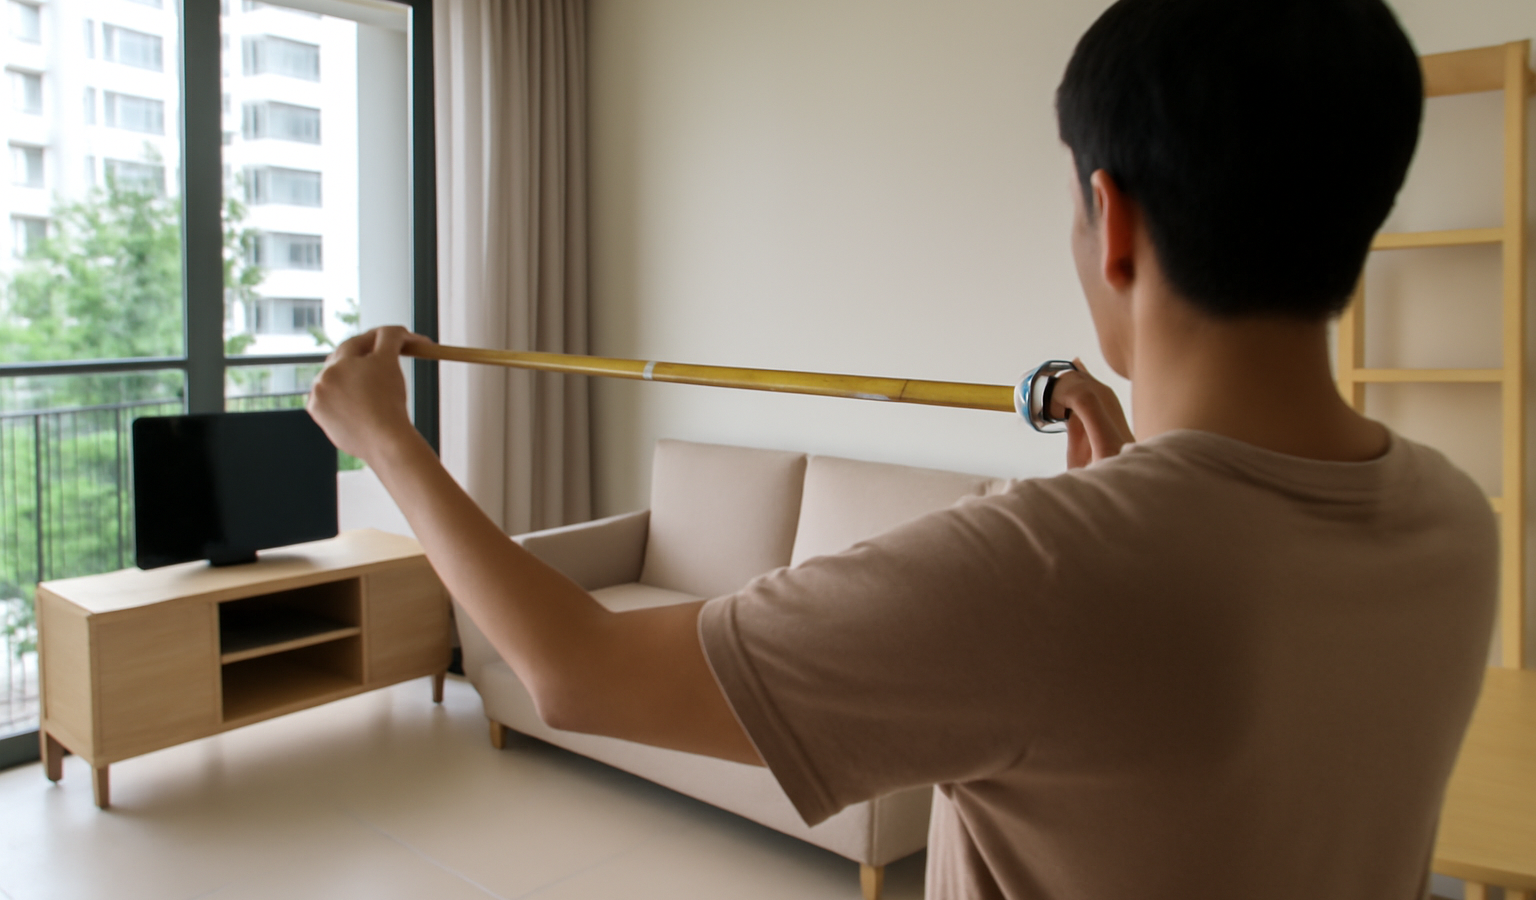
The most expensive furniture mistake is not choosing the wrong colour, it is choosing the wrong size. A sofa that looked fine online turns out to block the walkway, or worse, it fits the room perfectly but will not go through the front door. Measuring properly before you buy takes twenty minutes and saves you a return fee, a wasted delivery slot and a lot of regret. Here is how to do it methodically, in centimetres and inches, for a typical Singapore flat.
The tools you need
You do not need much: a metal tape measure (a 5m one covers most rooms), a notebook or your phone, painter’s tape or masking tape, and ideally a second person to hold the other end. A laser measure is a nice extra for long walls and ceiling heights but is not essential. Write everything in one place, in the same unit, and label each number clearly so you do not mix up a wall width with a door width later.
Measure the room itself: length, width and height
Start with the shell. Measure the length and width of the room at floor level, wall to wall, and take each measurement twice to be sure. Rooms are rarely perfectly square, so if a wall looks off, measure it at both ends. Note the ceiling height too, which matters for tall wardrobes, shelving and bunk beds; standard HDB ceilings run around 2.6m (about 102in), but a false ceiling or bulkhead can cut that.
Sketch the room roughly as you go and write the dimensions on your sketch. It does not need to be neat; it needs to be complete. This same sketch becomes your floor plan later.
Map doorways, windows and fixed features
Furniture has to share the room with things that cannot move. Measure and mark on your sketch:
- Doorways — width, height, and which way the door swings, since the swing arc steals usable floor.
- Windows — width, height and sill height off the floor, so a sofa back or bed headboard does not block one.
- Aircon unit — its position and the area below it you should keep clear of the airflow.
- Bomb shelter or store door in an HDB flat, which must stay accessible and swings outward.
- Radiator-style features are rare here, but note skirting, trunking and any wall-mounted pipes.
These fixed points often decide the only sensible layout, so getting them down early saves you rearranging on paper.
Do not forget power points and switches
A gorgeous console that covers your only power point or hides a light switch is a daily annoyance. Mark every power point, data point and switch with its height off the floor. Plan so that a TV console sits near the outlets, a bed leaves bedside points reachable, and nothing tall blocks a switch you use every day. In older flats with few outlets, this can quietly rule out a layout, so map it before you fall in love with an arrangement.
Measure the delivery route, not just the room
This is the step people skip and regret. A piece can fit the room and still never get there. Measure the full path from the lift lobby to the room:
- Main entrance door — width and height, with the door open.
- Corridor and hallway width, and the diagonal at any tight turn or L-bend.
- Lift — the door opening and the internal depth and height; long items sometimes ride diagonally.
- Staircase width and turns, if the lift is out or you are on a low floor.
Compare the tightest point on the route with the smallest dimension of the furniture, remembering delivery crews can tip a sofa on its side. If a flat-pack option can be assembled in the room, a tight route becomes a non-issue. Our guide on space-saving furniture for small homes covers pieces designed for exactly this problem, and a bulky piece like a table deserves the same route check, as our dining table buying guide explains.
Plan clearances and walkways
Furniture that fits on paper can still make a room miserable to walk through. Build in clearances:
| Gap | Centimetres | Inches |
|---|---|---|
| Main walkway / circulation path | 90cm | 36in |
| Minor path to squeeze past | 60cm | 24in |
| Sofa to coffee table | 30-45cm | 12-18in |
| Clearance around a dining table (to pull out chairs) | 90-100cm | 35-39in |
| In front of a wardrobe with hinged doors | 60cm | 24in |
| Beside a bed to walk and make it | 60cm | 24in |
Aim for 60-90cm (24-36in) on the paths you use most. In a compact HDB living room you may trade a little clearance for a bigger sofa, but never below 60cm on a main route.
Tape it out and draw a scaled plan
Numbers are abstract; tape is not. Use painter’s tape to mark the exact footprint of the sofa, bed or dining table on the floor, then live with it for a day. Walk the paths, open the doors, sit where the sofa would be. You will feel a too-big piece immediately.
For the whole room, draw a simple scaled floor plan: 1cm on paper to 20cm in real life works well on a single sheet. Cut out paper rectangles for each piece at the same scale and shuffle them around. It is far faster than moving real furniture, and it forces you to place everything at once. When you are choosing specific pieces, cross-check their sizes against layout ideas in our guides on living room layouts for HDB flats and bedroom layouts for HDB flats.
Account for how a piece changes when in use
The showroom dimension is the resting size, but furniture grows when you use it. A recliner needs extra depth behind and in front when it tips back. A sofa bed or pull-out doubles its footprint when opened. A dining chair pulled out to sit down needs about 45-60cm (18-24in) of clearance behind it, and a drawer or cabinet door needs its own depth of open space in front. Note the open dimensions, not just the closed ones, and tape those out too. In a tight HDB flat this is often what separates a piece that works from one that jams against the coffee table every evening.
A quick pre-purchase checklist
Before you click buy or sign at the showroom, confirm you have:
- Room length, width and height, measured twice.
- Doorways, windows, aircon and shelter door positions.
- Power points and switches, with heights.
- The full delivery route: entrance, corridor, lift and any turns.
- Walkway clearances of 60-90cm on main paths.
- The footprint taped out and lived with for a day.
The bottom line
Measuring a room for furniture is less about one big number and more about a handful of small ones: the room, the fixed features, the power points, the delivery route and the walkways. Get the delivery access down as carefully as the room itself, because that is the measurement that turns a good buy into a stranded one. Tape out the footprint before you commit, draw a rough scaled plan, and you will buy furniture that fits the room, the door and the way you actually live in the space.
Frequently asked questions
What measurements do I need before buying furniture?
Room length, width and ceiling height, plus the position of doorways, windows, power points and switches. For anything large, also measure the delivery route: the entrance door, corridor width, lift dimensions and any tight turns.
How much walkway space should I leave around furniture?
Aim for 60-90cm (24-36in) of clear path for main walkways, and at least 60cm to slide past furniture. In front of a sofa, leave about 30-45cm to a coffee table so there is legroom without a stretch.
How do I know if a sofa will fit through my door?
Measure the door width and height, then compare with the sofa's smallest dimension, since delivery crews can often turn a sofa on its side. Also check the corridor width and lift, as the tightest point on the route, not the door alone, decides whether it fits.
Why should I tape out furniture on the floor?
Marking the footprint with painter's tape shows the real space a piece takes and how much walkway is left, which a number on a website cannot. It is the cheapest way to avoid a return, especially in a compact HDB living room.
More in Furniture & Homeware
See all
Storage Ottomans & Benches: A Buying Guide
A storage ottoman or bench adds hidden storage and seating in small SG flats. Our buying guide covers types, sizes, materials, lids…

How to Measure for Curtains (2026)
How to measure curtains for Singapore homes: rod and track width, drop options, fullness ratio and day-and-night layering, all in cm and…

Wardrobe Dimensions: Planning the Right Size (2026)
A practical guide to wardrobe dimensions for Singapore homes: standard depths, hanging rod heights, shelf and drawer widths, and how to plan…