
How to Photograph Items So They Sell (2026)
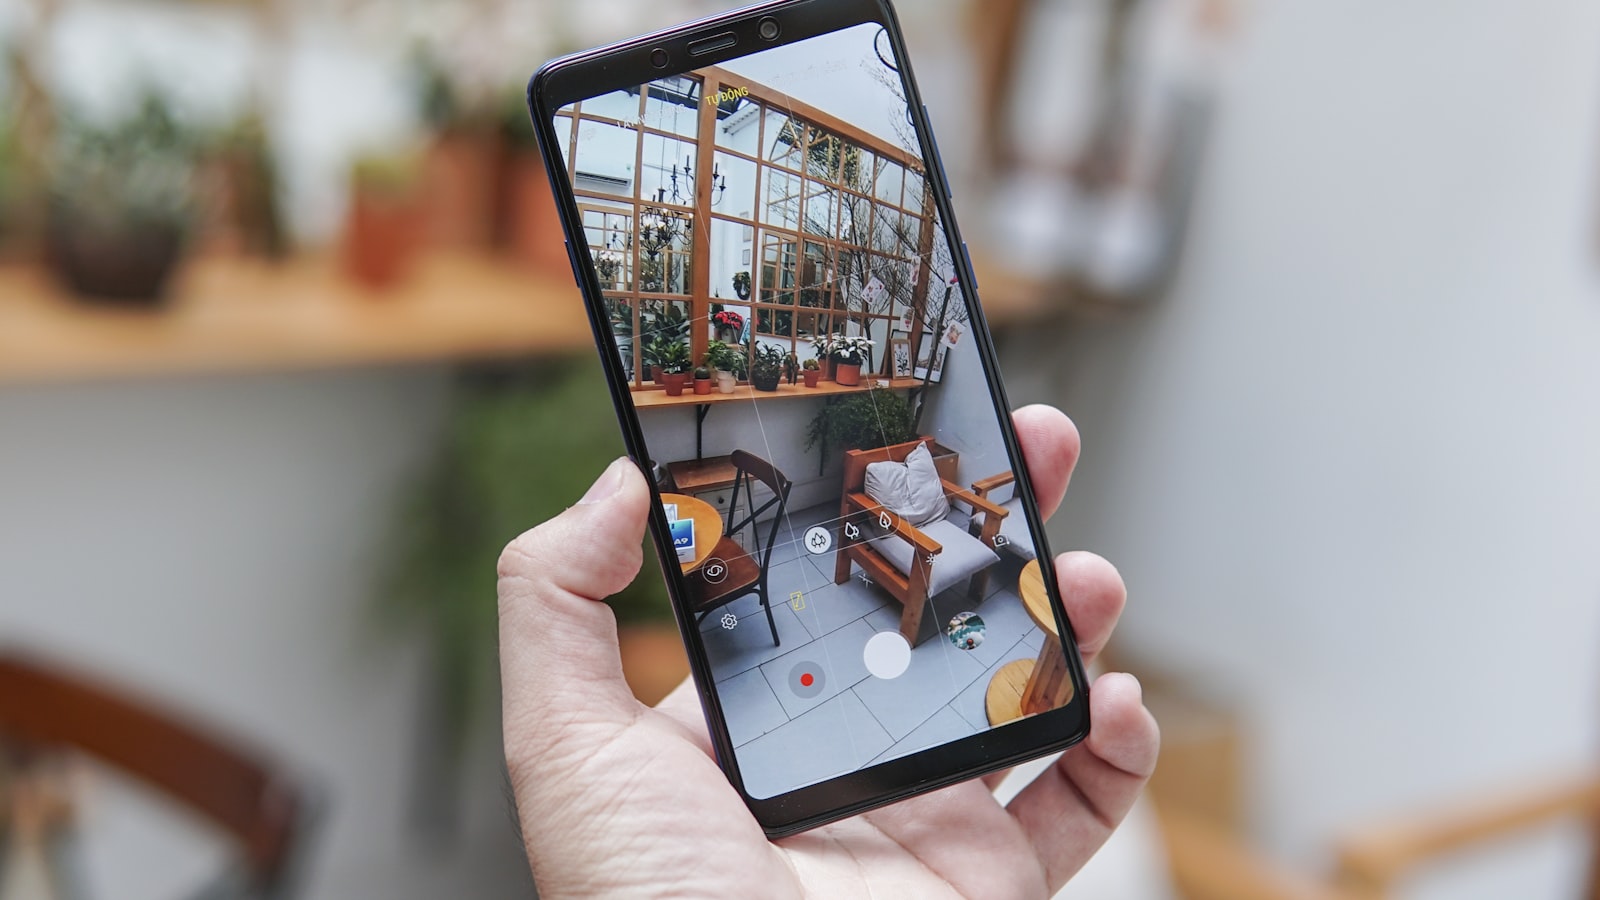
Two identical rice cookers are listed on the same day at the same price. One photo shows the cooker on a cluttered kitchen counter at night, yellow-lit and slightly blurred. The other shows it wiped clean, on a plain table by a window, from three angles with the inner pot pictured. The second one sells that week; the first is still being bumped a month later. In the second-hand market, the photos are not part of the listing — they effectively are the listing. Here is how to take photos that sell, with nothing more than your phone.
Light: the one variable that changes everything
Ninety percent of bad listing photos share one cause: shooting at night under ceiling lights. Warm bulbs turn whites yellow, cast shadows straight down, and force the phone to grind up its ISO into grainy mush. The fix costs nothing — shoot in the daytime, near a window, with the room lights off. Soft indirect daylight renders colours accurately and flatters every surface from fabric to stainless steel.
Position the item so the window is in front of it or to the side — never behind it, which silhouettes the item and blows out the background. An overcast day is actually ideal: clouds act as a giant diffuser. If direct sun is streaking across your spot, hang a thin white curtain or wait an hour. And if evening is truly your only option, face the item toward the brightest white light you own and correct the colour afterwards — but honestly, waiting for morning light is the single best “edit” available.
Background: cheap, plain and consistent
The buyer’s eye should land on the item, not on your laundry rack behind it. You do not need a studio — you need two square metres of visual quiet:
- Small items: a plain table against a white or neutral wall, or a large sheet of white paper/cardboard curved up behind the item as a seamless backdrop.
- Clothes: flat-lay on a plain bedsheet shot from directly above, or on a hanger against a bare wall or door. Iron or steam first — wrinkles read as “uncared for”.
- Furniture and appliances: clear the immediate surroundings. Pull the item away from clutter, sweep the floor in frame, and remove personal items — buyers notice everything, and a tidy scene implies a careful owner.
Before any of this: clean the item. Dust, fingerprints and food residue photograph brutally under good light. Ten minutes with a cloth is worth more than any filter, and it is the honest version of the item the buyer will meet anyway.
The shot list: answer every question in advance
Fill most of the platform’s photo slots with a deliberate sequence rather than five near-identical angles:
- The hero shot — straight-on or slightly angled, whole item in frame, best face forward. This is your thumbnail and does the scroll-stopping work.
- Angles — front, back, sides, top; open the doors, pull out the drawers, show the ports.
- The identity shot — brand label, model plate, size tag, serial area. This answers the first question buyers ask and signals the item is genuine.
- The condition close-ups — every flaw, clearly: the scratch, the chip, the worn corner. Counterintuitively, flaw photos speed sales — they build trust and pre-filter buyers who would have walked at the meet-up.
- Scale or context — a hand, a coin, or the item in situ so size is instantly graspable; include a tape measure shot for furniture.
- Completeness — box, cables, manuals, accessories laid out together. “Complete set” photos measurably lift perceived value.
This set, plus honest text, means fewer questions, faster decisions and near-zero “not as described” disputes. The words matter too — pair your photos with our guide to writing a listing that sells.
Phone technique: small habits, visible results
Any recent phone outguns your skill ceiling here; technique is the bottleneck. Tap to focus on the item and let the exposure adjust before shooting. Hold steady — brace your elbows or lean on a chair; most “bad camera” blur is hand shake in dim light. Step back and zoom slightly rather than shooting wide up close, which distorts proportions (this is why sofas photographed from 40cm look weird). Wipe your lens — the haze on most phone photos is pocket grease. Shoot more than you need and pick later.
Editing: less is more, and honesty is the rule. Straighten the frame, crop out dead space, nudge brightness and white balance toward what your eyes actually saw. Do not saturate colours, blur flaws or beautify the item beyond reality — a photo that oversells guarantees a soured meet-up, and on dispute-prone platforms it is ammunition against you.
Category quirks worth knowing
Electronics: photograph the item powered on — a lit screen or glowing indicator answers “does it work?” wordlessly. For phones and laptops, show the battery health screen; buyers of used devices hunt for exactly that shot. Clothes and bags: shoot the care label, any authenticity details, and stress points (collars, cuffs, corners, handles) — the technique is a big part of selling clothes online successfully. Furniture: include a dimensions shot and photograph joints and undersides; serious buyers ask anyway. Anything with a smell risk (sofas, mattresses, baby gear): you cannot photograph a smell, but photographing a clean, well-kept environment is the next best proxy.
Pricing and photos interact, too — a well-shot item credibly supports a higher asking price, while poor photos force you to compete on price alone. See how to price second-hand items for the other half of that equation.
A repeatable 15-minute workflow
- Minute 0–5: clean the item, clear a spot near a window, lights off, lens wiped.
- Minute 5–12: shoot the full list — hero, angles, labels, flaws, scale, accessories. Two takes of each.
- Minute 12–15: pick the best of each, straighten and crop, nudge brightness. Upload with the hero first.
Batch it: photograph five items in one session while the light is good, and you have a week of listings ready to post.
The bottom line
Great selling photos are a checklist, not a talent: daylight from a window, a plain background, a cleaned item, a full shot list that answers every buyer question — flaws included — and a steady, wiped lens. Fifteen minutes per item is the entire investment, and it pays back in faster sales, better prices and smoother handovers. In a marketplace of murky night-time thumbnails, simply being clear puts you in the top tier.
Frequently asked questions
What is the best way to photograph items for Carousell?
Use daylight from a window, a plain uncluttered background, and shoot a full set: a straight-on hero shot, multiple angles, close-ups of brand labels and any flaws, plus something for scale. Wipe the item down first — clean items photograph dramatically better.
How many photos should a second-hand listing have?
Use most or all of the photo slots the platform gives you — typically six to ten images. More angles mean fewer buyer questions, faster decisions and fewer disputes at handover.
Should I photograph the flaws on my item?
Yes, clearly and close-up. Honest flaw photos build trust, filter out buyers who would have backed out at the meet-up anyway, and protect you from 'not as described' disputes after the sale.
Do I need a good camera to take selling photos?
No — any recent phone is more than capable. Light and background matter far more than the camera: window daylight, a plain backdrop, a wiped-clean item and a steady hand outperform an expensive camera used badly.
More in Buying & Selling Used
See all
Spotting Water-Damaged Electronics Before You Buy (2026)
Water damaged electronics look fine until they die. How to spot liquid damage on used phones, laptops and gadgets: indicators, corrosion clues…
Preloved Wedding Dresses & Items: Buying & Selling (2026)
A preloved wedding dress can cost a fraction of retail. Where Singapore couples buy and sell gowns, decor and kua, what to…

Selling via Telegram & Instagram Groups in Singapore (2026)
Telegram selling in Singapore, explained: how marketplace channels and Instagram groups work, posting etiquette, payment safety and when platforms beat them.