
Planning Your Lighting During a Renovation (2026)
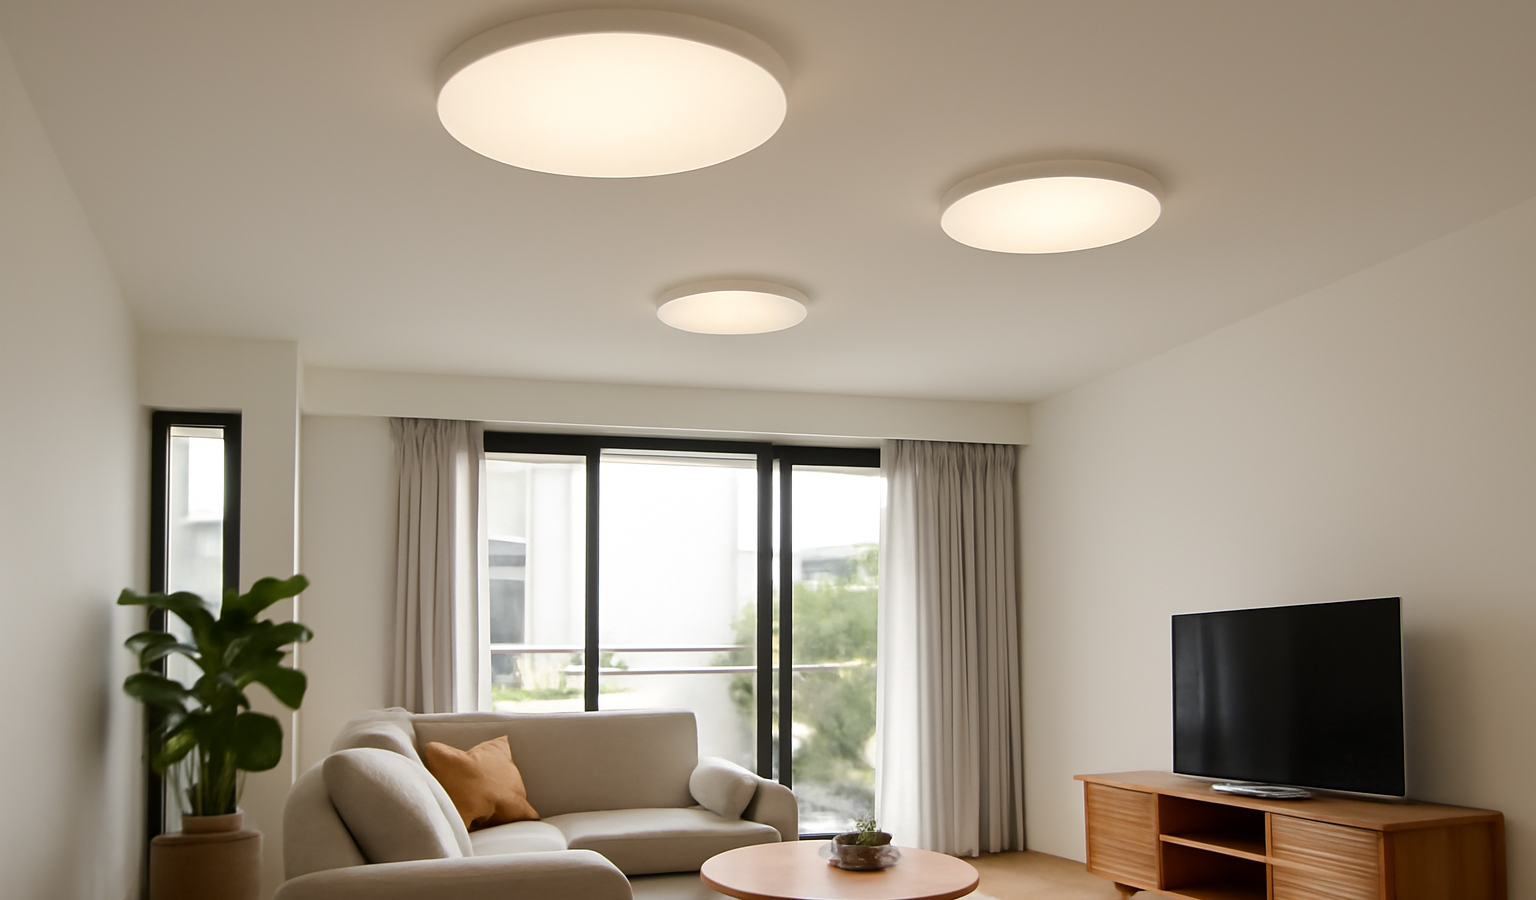
Ask anyone what they regret about their renovation and lighting shows up with surprising frequency — the dim kitchen counter where you actually chop, the glare bomb over the TV, the bedroom with one switch located nowhere near the bed. Lighting feels like a shopping decision, but it’s really a construction decision: where the wires go, where ceilings get boxed up, where switches land. Decide it early, during the renovation, and everything else about your home works better. Here’s how to build a lighting plan that survives contact with real life.
Why lighting is a renovation decision, not a shopping one
The fittings you can swap anytime. The points — the wired positions in ceilings and walls, the switch locations, the circuits behind them — are fixed once your false ceiling closes and your walls are painted. Adding a point afterwards means cutting into finished surfaces, re-running cable and patching up, at several times the in-renovation cost and with visible scars.
So the sequence matters: lighting layout gets finalised alongside your electrical plan in the first weeks of the project, before wiring starts. It should be planned together with your power sockets and switches — our guide to planning electrical points during a renovation covers that other half of the same conversation.
Think in three layers, not one bright light
The classic mistake is one powerful ceiling light per room: harsh when you want cosy, yet somehow still dim where you actually work. Designers plan in layers instead:
- Ambient: the general fill light — downlights, ceiling fittings or cove lighting that lets you move around safely.
- Task: focused light where work happens — under-cabinet strips over kitchen counters, a mirror light for shaving and makeup, a desk or reading lamp point.
- Accent: the mood-makers — a wall wash on a feature wall, a pendant over the dining table, warm cove light for evenings.
Not every room needs all three, but every room benefits from at least two, separately switched. That separation — bright mode for cleaning, soft mode for winding down — is what makes a home feel considered.
Walk the plan room by room
The single best planning exercise costs nothing: stand in your floor plan (or the bare flat) and mentally act out a normal day. Where do you chop vegetables? That counter needs task light in front of you, not a downlight behind your head casting your own shadow onto the chopping board. Where does the wardrobe go? Put light where its doors open. Which side of the bed do you sleep on? That’s where the reading point and the second light switch belong.
Kitchens and bathrooms reward the most attention — under-cabinet strips and a properly lit mirror are cheap during renovation and transformative daily. In the living room, plan around furniture positions: a pendant needs the dining table’s final location, and downlights should avoid reflecting off the TV. Bedrooms want fewer, warmer, lower-glare sources than the showroom suggests.
Don’t forget the unglamorous zones. The entryway benefits from a light that comes on where you fumble with keys and shoes, the service yard needs enough brightness to spot stains while doing laundry, and wardrobe interiors and deep kitchen cabinets are far more usable with a small wired or battery light inside. These minor points cost little during renovation and are the ones people most often wish they had added.
Colour temperature and brightness
Colour temperature — measured in kelvins — sets a room’s mood more than any fitting choice. A simple strategy that works for most Singapore homes: warm white (2700–3000K) in living rooms and bedrooms, neutral to cool white (around 4000K) in kitchens, bathrooms, service yards and study corners. Pick a scheme home-wide and stick to it; mixing temperatures randomly within one sightline is what makes flats feel oddly disjointed.
For brightness, more smaller sources beat fewer blinding ones. If in doubt, slightly over-provision points and use dimmable fittings or lower-wattage bulbs — you can always run lights dimmer, but you can’t summon light from a point that doesn’t exist. Watch glare as well: in flats with lower ceilings, recessed downlights with deeper baffles or diffusers are gentler on the eyes than exposed bright LEDs, especially anywhere you look up from a sofa or bed.
Switches, circuits and controls
Switching is where lighting plans quietly fail. Rules of thumb worth insisting on:
- Two-way switches for bedrooms (door and bedside) and along corridors — nobody should cross a dark room to turn on a light.
- Separate circuits per layer, so ambient, task and accent lighting switch independently rather than all-or-nothing.
- Dimmers where mood matters, specified during wiring — retrofitting dimmer-compatible circuits later is messy.
- Smart control as an option, not a dependency: smart bulbs and switches are easy to add later if the wiring is sane. Start with the basics in our smart plugs and home automation guide before committing to expensive proprietary systems.
If you’re renovating an older resale flat, have your contractor assess the existing wiring’s condition and capacity first — an ageing installation may need upgrading before it can safely serve a modern lighting load, as covered in our guide to electrical rewiring in an old flat.
Where lighting fits in the renovation timeline
Lighting threads through the whole project, so know the checkpoints: layout confirmed before wiring starts; wiring and conduits run before false ceilings and partitions close; fittings chosen (or at least their cut-out sizes confirmed) before the false ceiling contractor cuts holes; installation and testing near the end, before painting touch-ups. The dangerous phase is the ceiling closing — after that point, every change gets expensive and messy. Ask your contractor to walk the flat with you, plan in hand, the day before ceilings close.
What it costs in 2026
As a rough guide — verify against current itemised quotes:
- New lighting point (wiring): roughly $50–$120 per point.
- Downlight fittings: often $15–$60 each for standard LED units, more for premium or adjustable types.
- False ceiling or cove lighting boxes: commonly a few hundred dollars per room section, depending on design.
- Whole-flat lighting works: frequently several hundred dollars to $2,000+ all-in, scaling with how much false ceiling and rewiring is involved.
Insist on a per-point, per-fitting itemised quote rather than a lump “electrical and lighting” line — it’s the only way to compare contractors fairly. For broader budgeting context across your whole project, browse our renovation and services guides.
The bottom line
Great lighting isn’t about expensive fittings — it’s about points in the right places, switched sensibly, at consistent colour temperatures, decided before the ceiling closes. Plan in three layers, walk your daily routines through the floor plan, over-provide slightly on points and switching, and treat the lighting plan as part of the electrical plan rather than an afterthought. Ready to put a proper plan into action? Tell us about your project and get matched with trusted renovation contractors below.
Frequently asked questions
When should I finalise my lighting plan during a renovation?
Before electrical wiring and false ceiling works begin — usually within the first couple of weeks of the project. Once ceilings are closed and walls painted, adding or moving points means hacking into finished surfaces.
What colour temperature is best for a home in Singapore?
Most homes use warm white (2700–3000K) in living rooms and bedrooms for a relaxed feel, and neutral to cool white (around 4000K) in kitchens, bathrooms and study areas where task visibility matters.
Are downlights or a single ceiling light better?
Multiple downlights spread light more evenly and let you zone a room, but they usually need a false ceiling. A single fitting is cheaper and fine for small rooms — many homes mix both approaches by room.
How much does home lighting cost in a renovation?
As a rough 2026 guide, each new lighting point commonly costs around $50–$120 in wiring works, with fittings from budget to designer prices on top, and false ceiling or cove work adding more. Verify against current itemised quotes.
What are the three layers of home lighting?
Ambient light is the general fill from downlights, ceiling fittings or cove lighting. Task light is focused where work happens, such as under-cabinet strips, a mirror light or a desk lamp point. Accent light creates mood with wall washes, pendants or warm cove lighting. Every room benefits from at least two, separately switched.
Why does kitchen counter lighting need special planning?
A downlight behind your head casts your own shadow onto the chopping board, so the counter needs task light in front of you, such as under-cabinet strips. Kitchens and bathrooms reward the most attention, since under-cabinet strips and a properly lit mirror are cheap during renovation and transformative daily.
What light switches should I plan in a renovation?
Plan two-way switches for bedrooms (door and bedside) and along corridors so nobody crosses a dark room to turn on a light, and separate circuits per layer so ambient, task and accent lighting switch independently. Dimmable fittings help, since you can run lights dimmer but cannot summon light from a point that does not exist.
Which small lighting points do people often forget in a renovation?
People often forget a light where you fumble with keys and shoes at the entryway, enough brightness in the service yard to spot stains while doing laundry, and small wired or battery lights inside wardrobes and deep kitchen cabinets. These points cost little during renovation and are the ones people most wish they had added.
Get renovation quotes
Share your renovation plans and we’ll help you get quotes from interior-design firms. Free, no obligation.
More in Renovation & Services
See all
Budget Interior Design Tips for Your Home (2026)
Budget interior design tips for Singapore homes: where to save or splurge, loose furniture vs carpentry, paint and lighting wins, and phasing…

Home Office Renovation Ideas & Setup (2026)
Home office renovation ideas for Singapore flats: dedicated room or nook, ergonomics, lighting, power and data points, acoustics and smart storage for…

Resale Flat Interior Design Ideas (2026)
Practical resale flat interior design ideas for older HDB homes: when to refresh or hack, handle dated tiles, keep charm and choose…